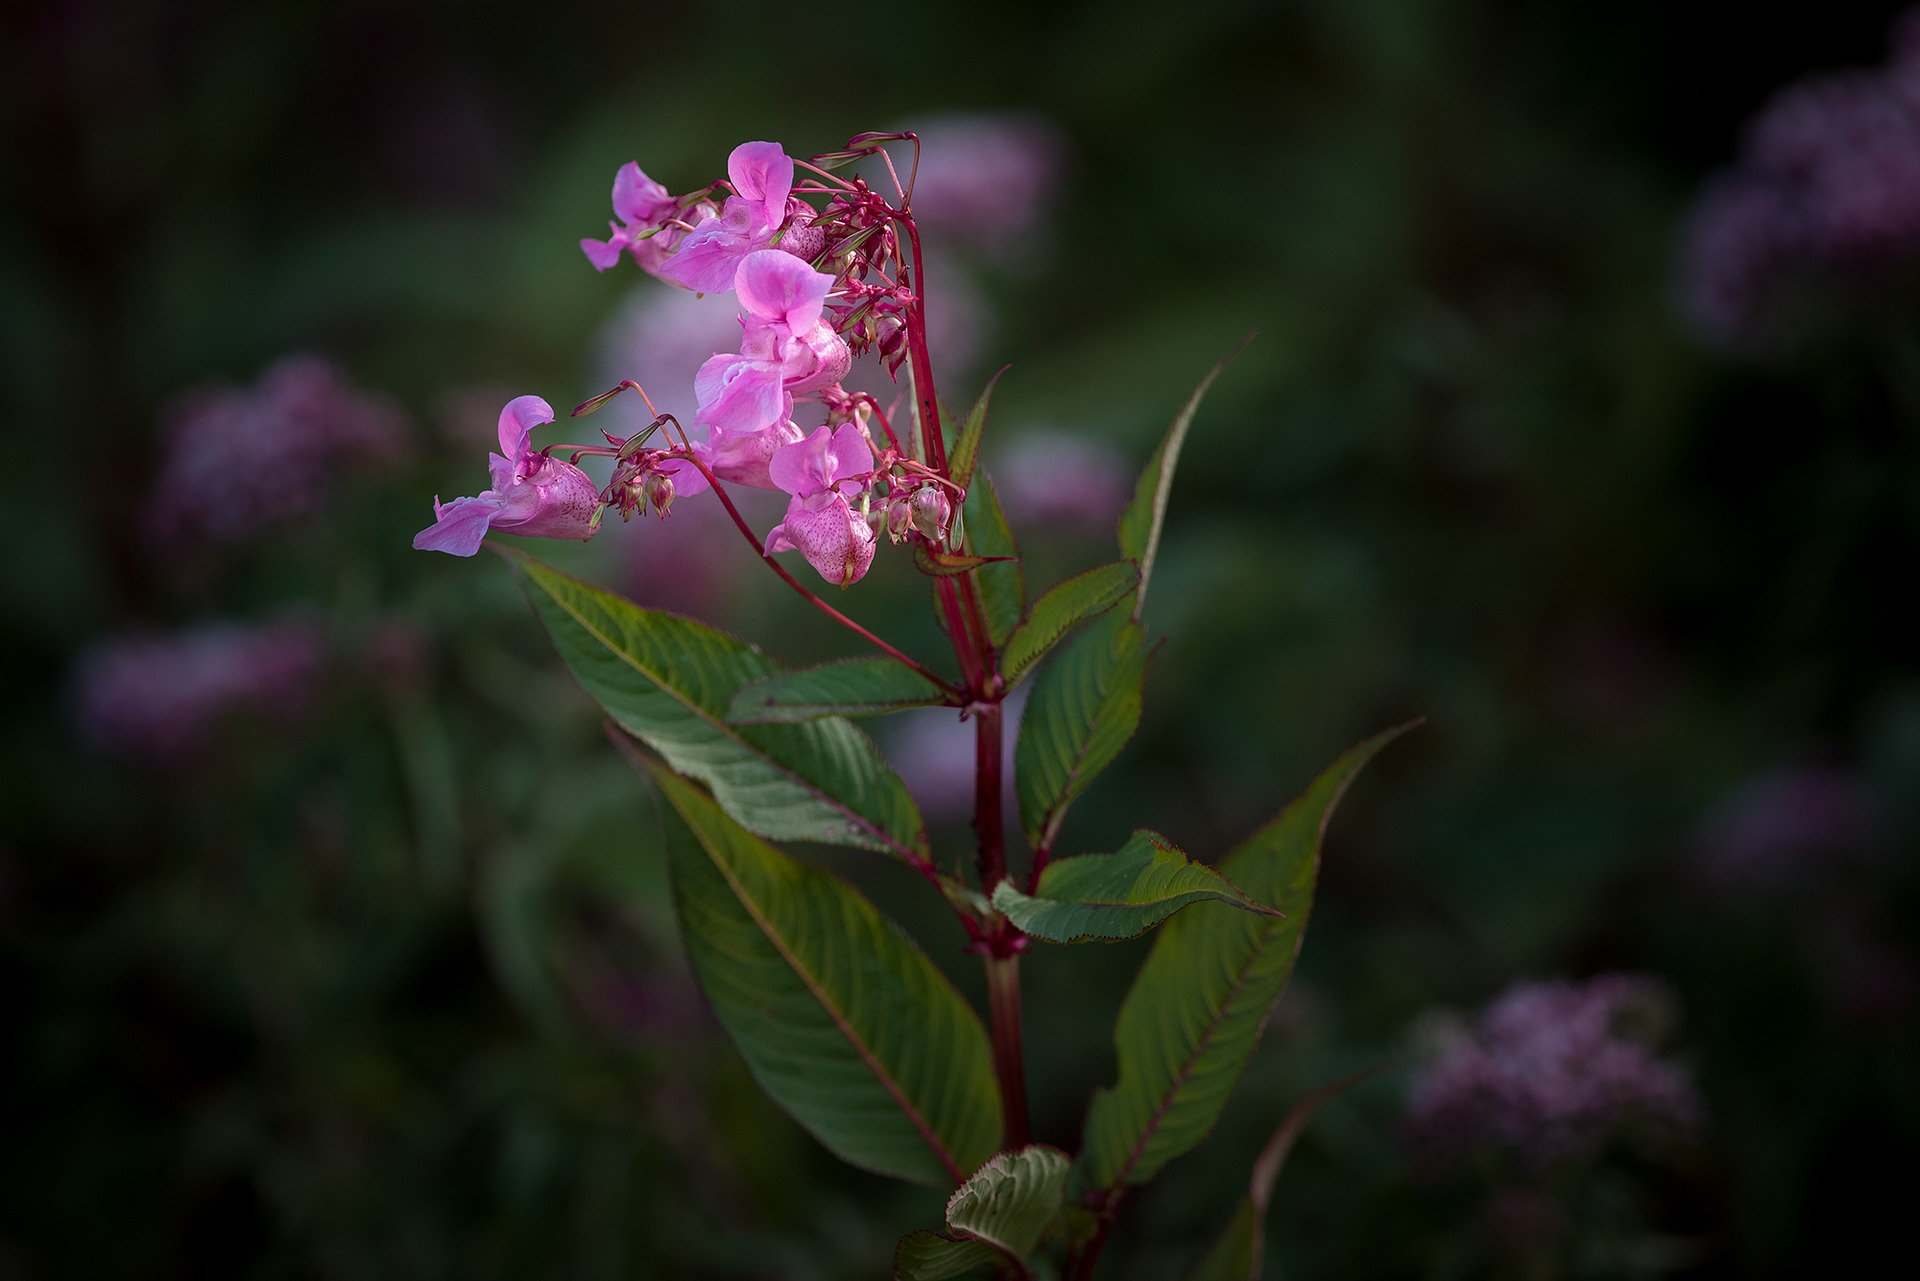
Himalayan Balsam: Where to find it and how to bash it
Where to find Himalayan Balsam, and how to remove it to improve the quality of our rivers and water courses in Greater Manchester
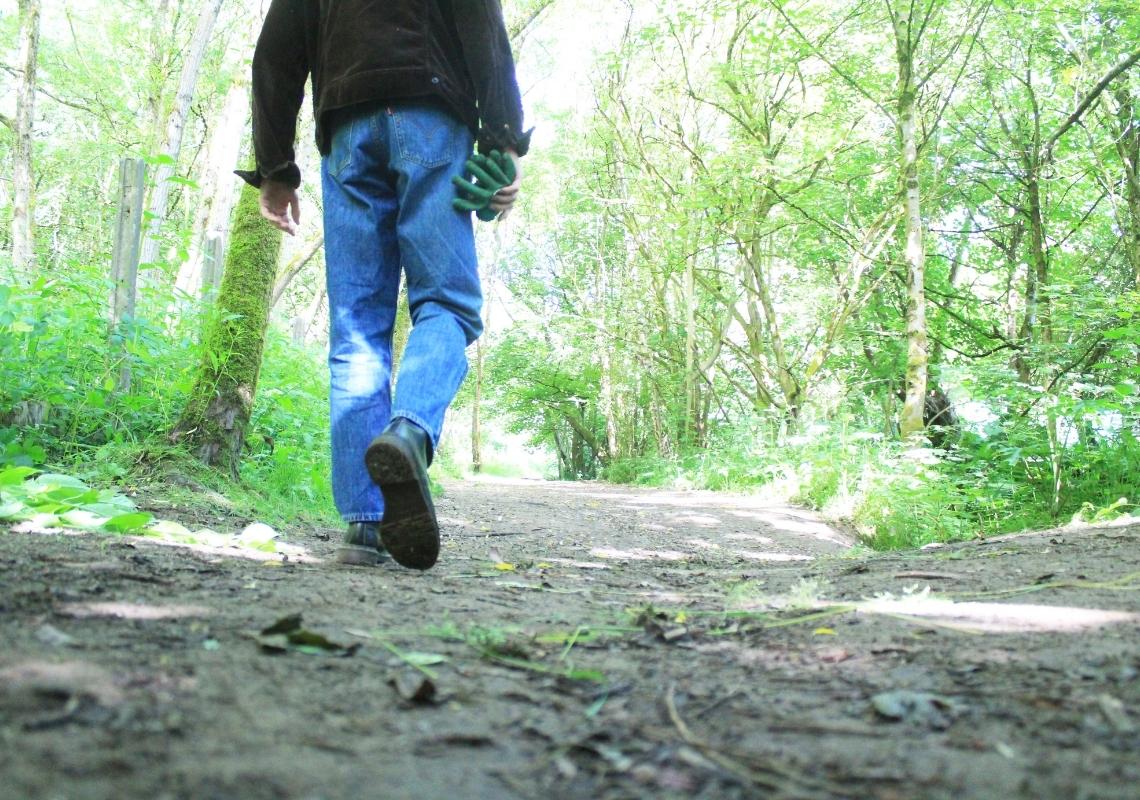
How to remove Himalayan Balsam
You don’t need to be a gardening maestro to remove Himalayan Balsam, nor do you need specialist equipment and a noteworthy license, just some good old elbow grease and a love for the great outdoors.
Most landowners are happy for you to remove this invasive species but you should ensure you don’t trespass on any private property or cause any other damage in the process.
Here’s our top 5 tips for a bashing day out:
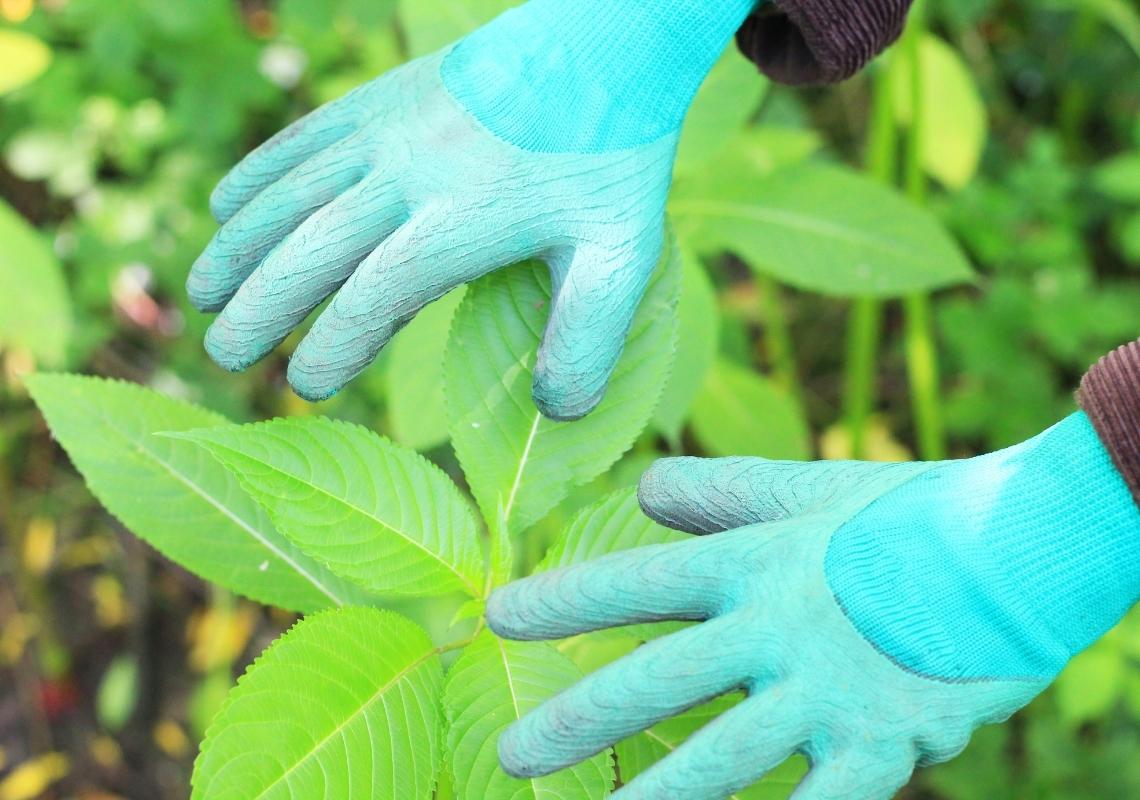
1) Grab a decent pair of gardening gloves
As a safety precaution it is always recommended that you wear suitable gear that you don’t mind getting mucky. As you will be using your hands a lot, this includes a decent pair of gardening gloves. Once your location is mapped, gloves will help you reach the balsam, clearing any hazards like brambles, litter and nettles along the way.
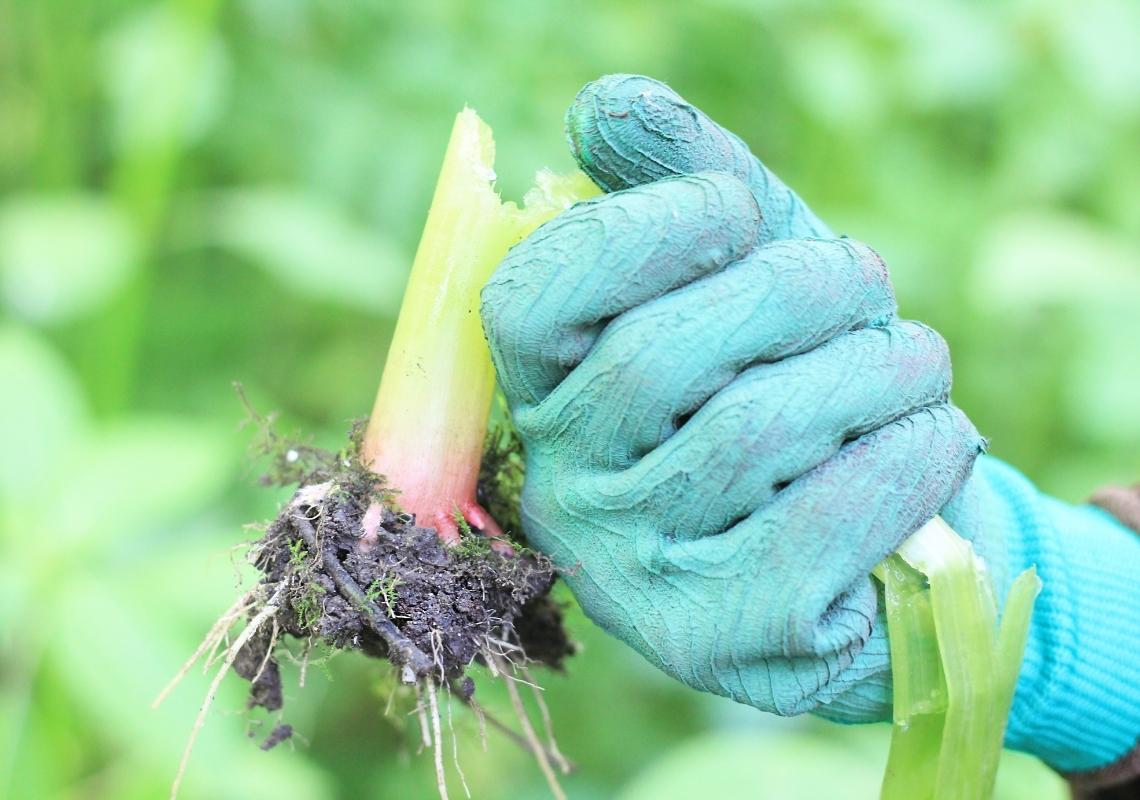
2) Uproot!
So you’ve identified your Balsam, now it’s time to clear it. Grab the root from its lowest point, giving it a sturdy tug. Observe that the plant not only comes out of the ground quite easily, but the root joins it too!
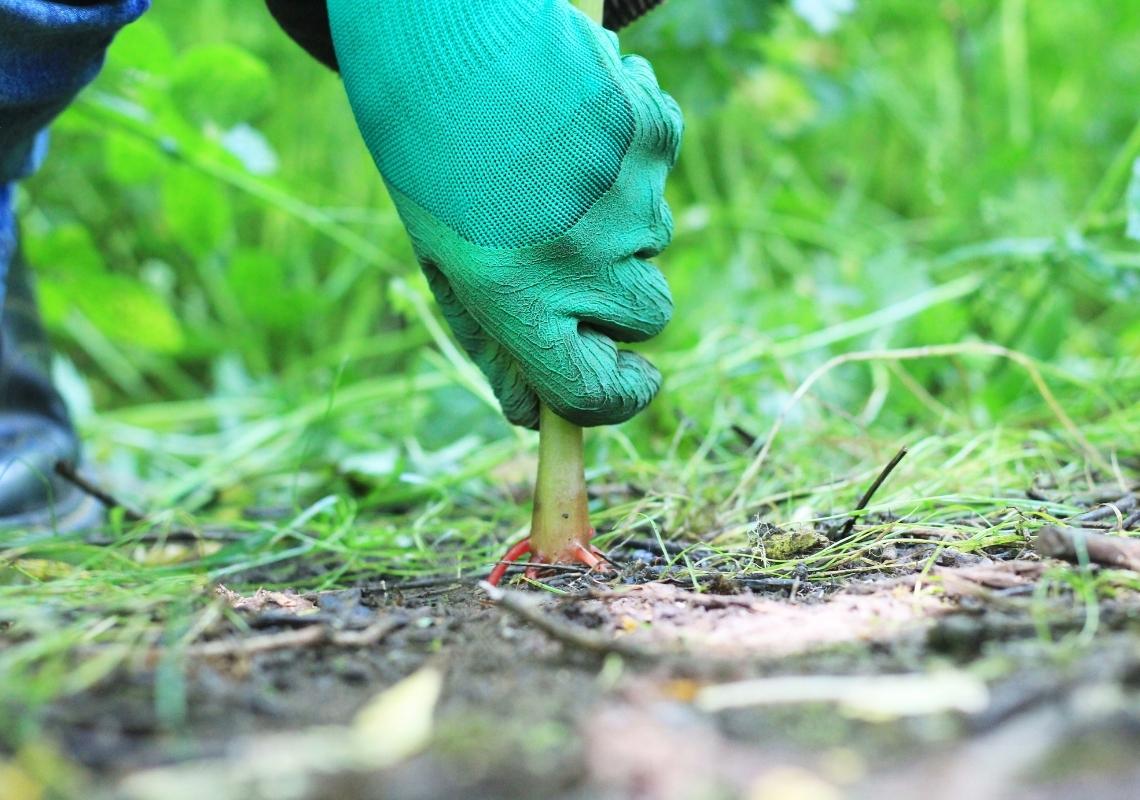
3) Breaking the Root
With the Balsam in your hand, snap the root of the plant just above its lowest ‘nobble’ point. Doing this will ensure it doesn’t re-root itself and find you in the same place doing it all over again next year!
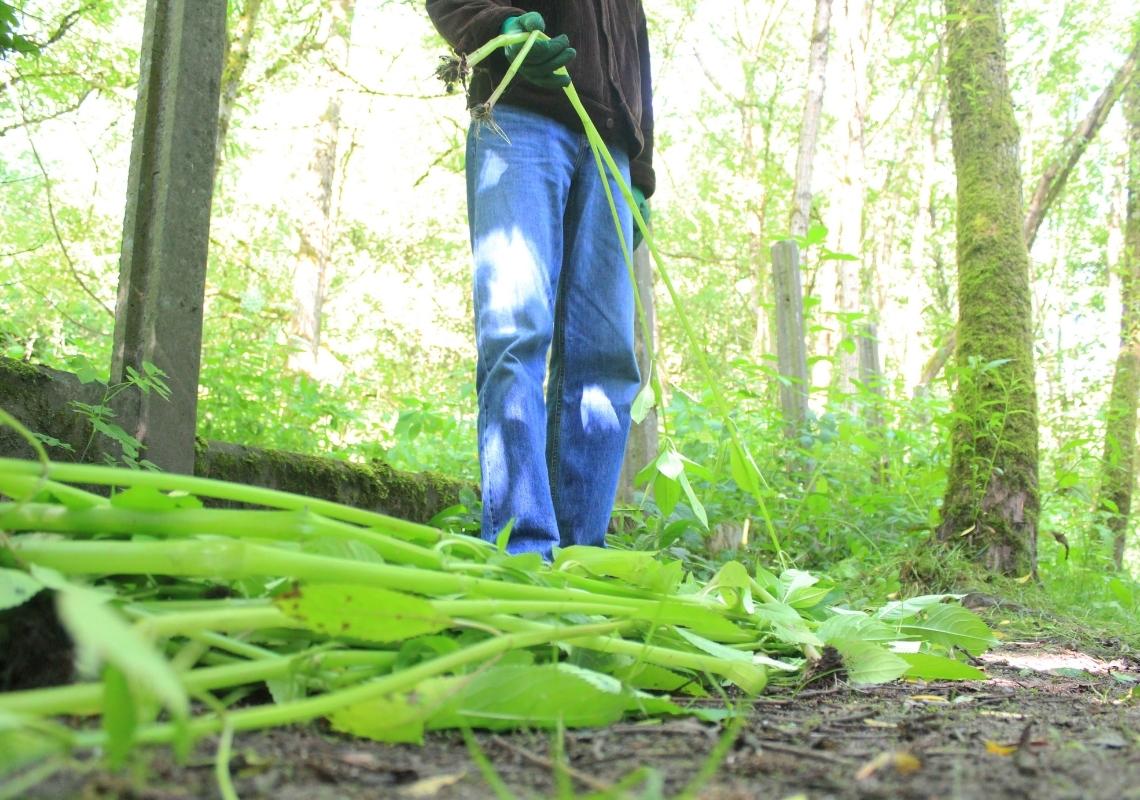
4) Pile Up
With each plant you pull up, start to build a pile so that the process of natural degradation can begin. If you are near a public footpath make sure that the pile isn’t blocking access for passers-by… For the next few months!
5) Return to the site
It’s always good to revisit the site after a few weeks to see any signs of re-growth, or areas you may have missed. At this point you’ll notice that the piles of Balsam have dried out and are no longer active.