How to Create a Green Roof in your Community
Brighten any community by creating luscious green roofs that attract wildlife and produce healthier places to live

How to Create a Green Roof in your Community
Our communities are plentiful when it comes to out-buildings, sheds and even communal garages. With this in mind we have to ask the question, are we getting the most out of them, or is it an opportunity passing us by?
To be ultra-resourceful we must take advantage of them, and implementing green roofs in our communities is a cunning way to brighten your local area, encourage wildlife to visit and rest, reduce flooding risks and purify the surrounding air from toxic pollutants.
So… Let’s get to work!
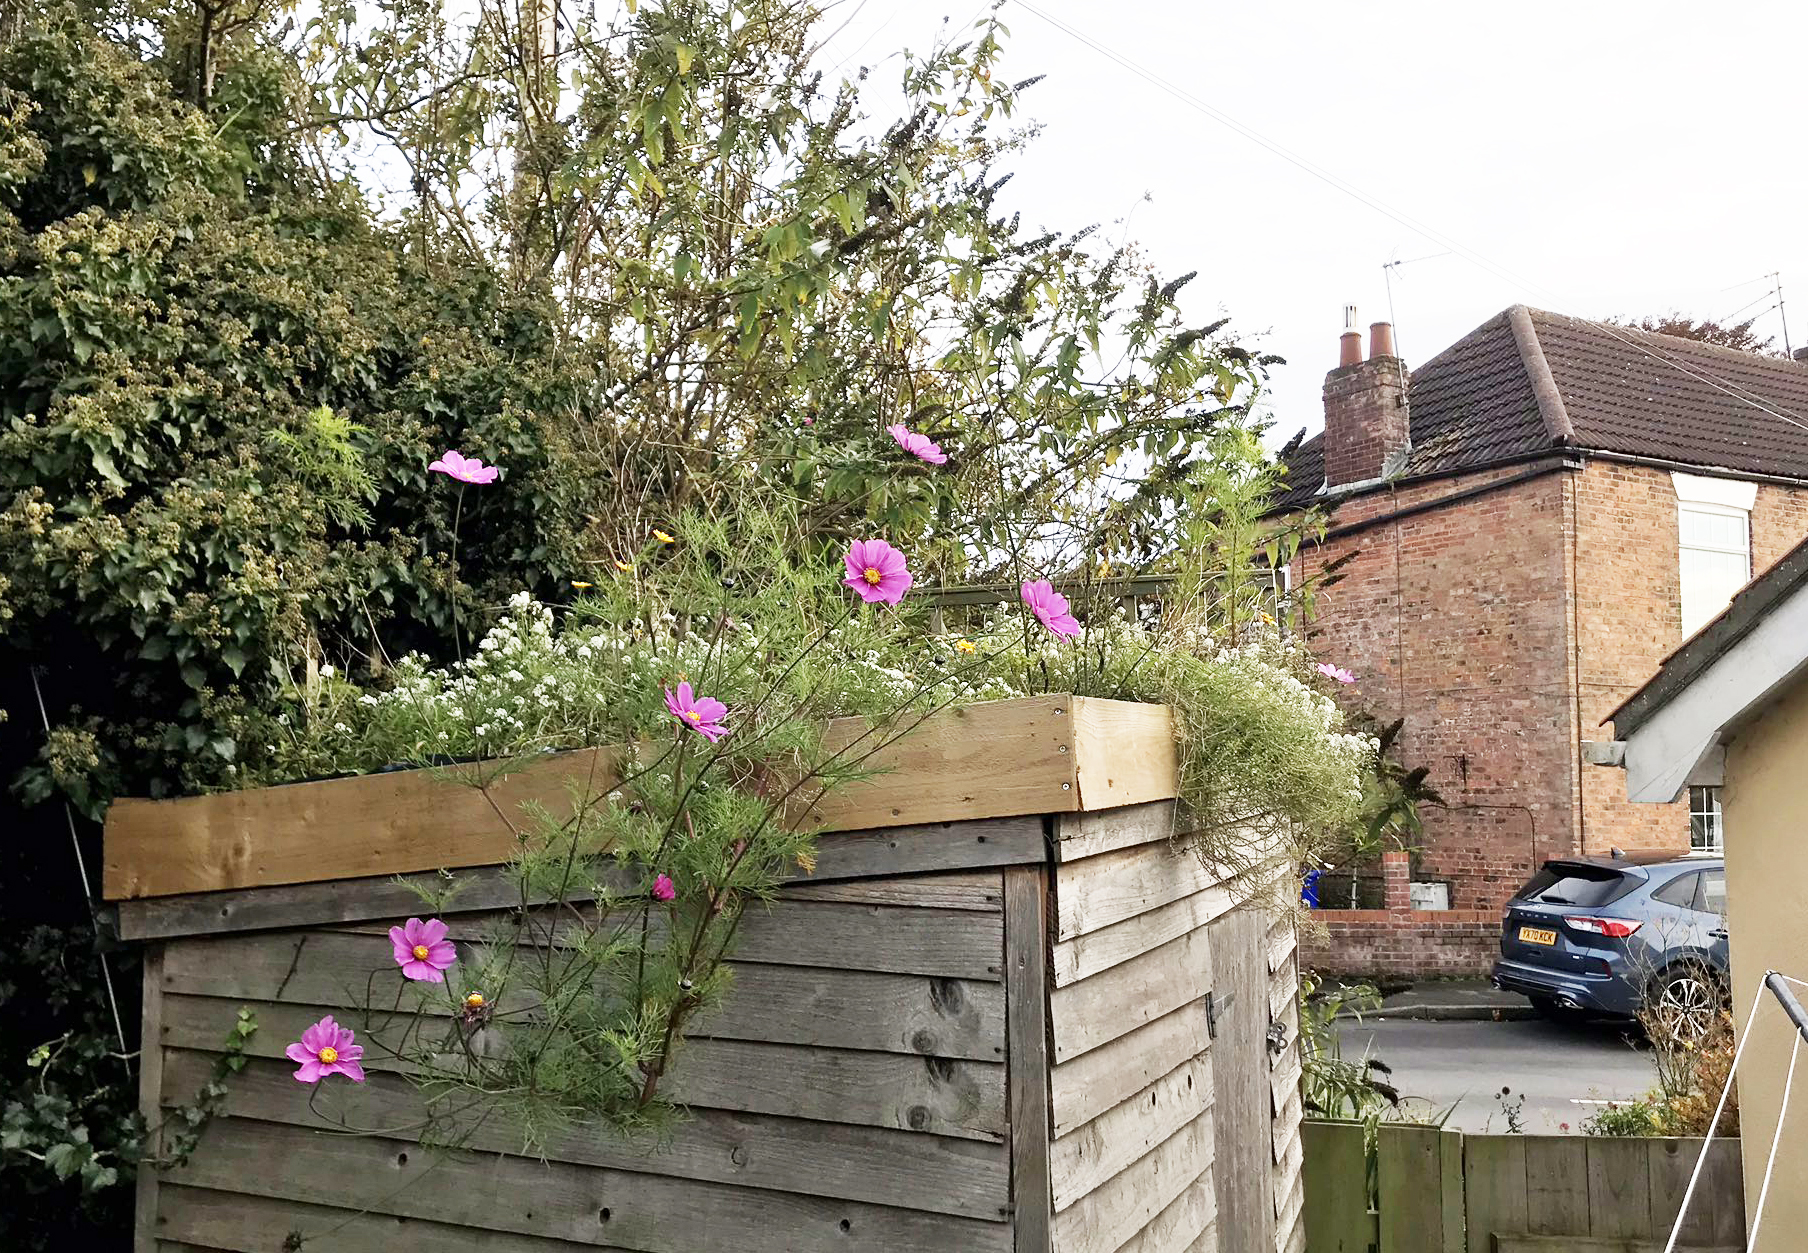
Find yourself a flat roof
It could be on top of a shed, a bin shelter, or bike storage unit, anything flat or an angle of fewer than 10 degrees would be suitable.
Water and root proof your roof
To make sure your inside structure stays dry and intact, you need to add a protective water and root proof layer before getting started. Using a single sheet to cover the whole area is ideal – like a heavy-duty pond liner from a local garden centre which can be applied with an adhesive. You will need to make sure it can drain properly too, so make sure to mark any outlets at this point to ensure proper drainage.
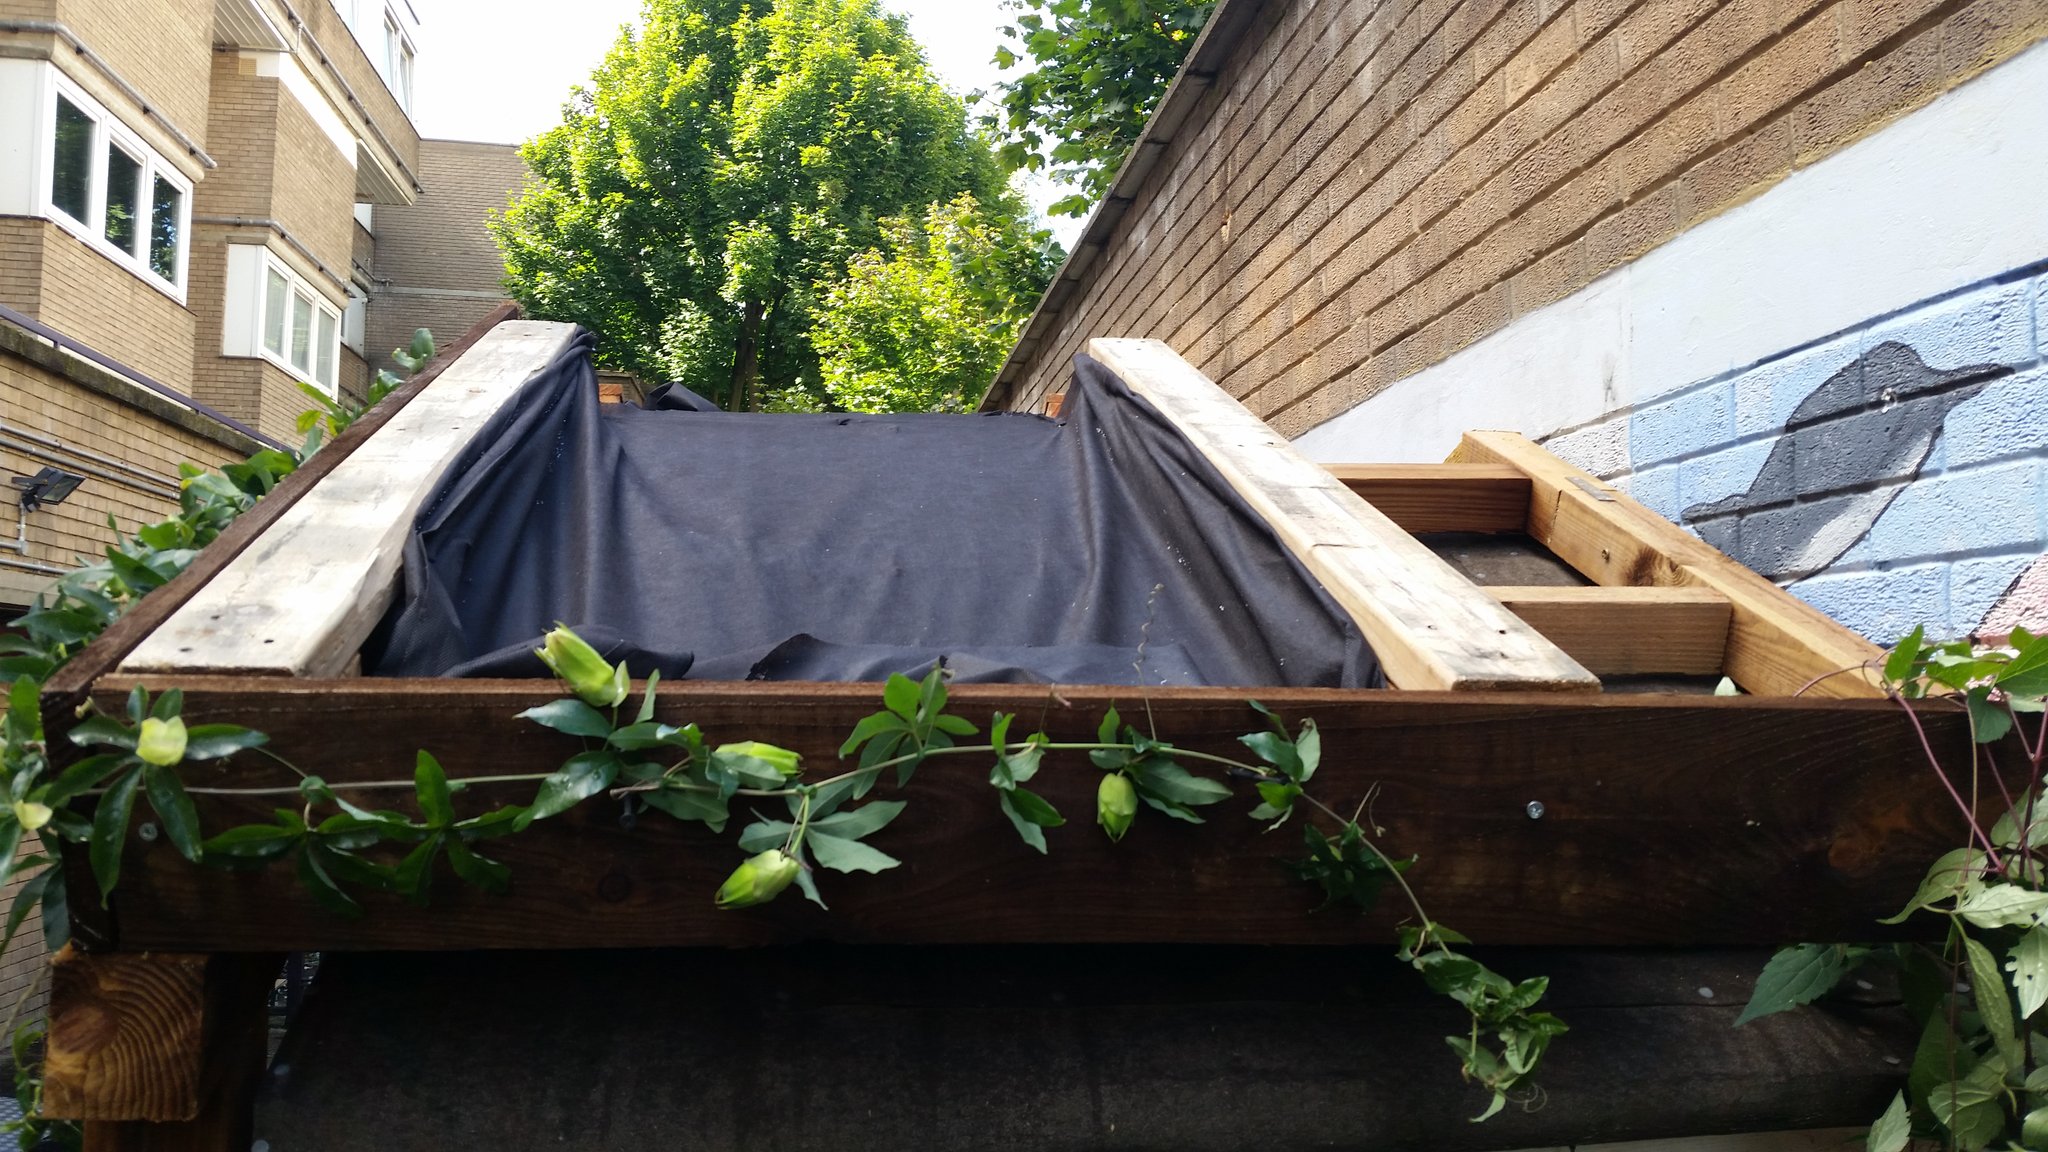
Make it drain!
Cut out some drainage outlets in the containment frame to make sure excess water can drain away and flow into the roof’s guttering. Keeping these outlets clear is really important so the roof doesn’t become overloaded. A layer of pebbles or small rocks helps to avoid blockages and can also be placed at the roof edge to prevent unwanted vegetation from growing there.
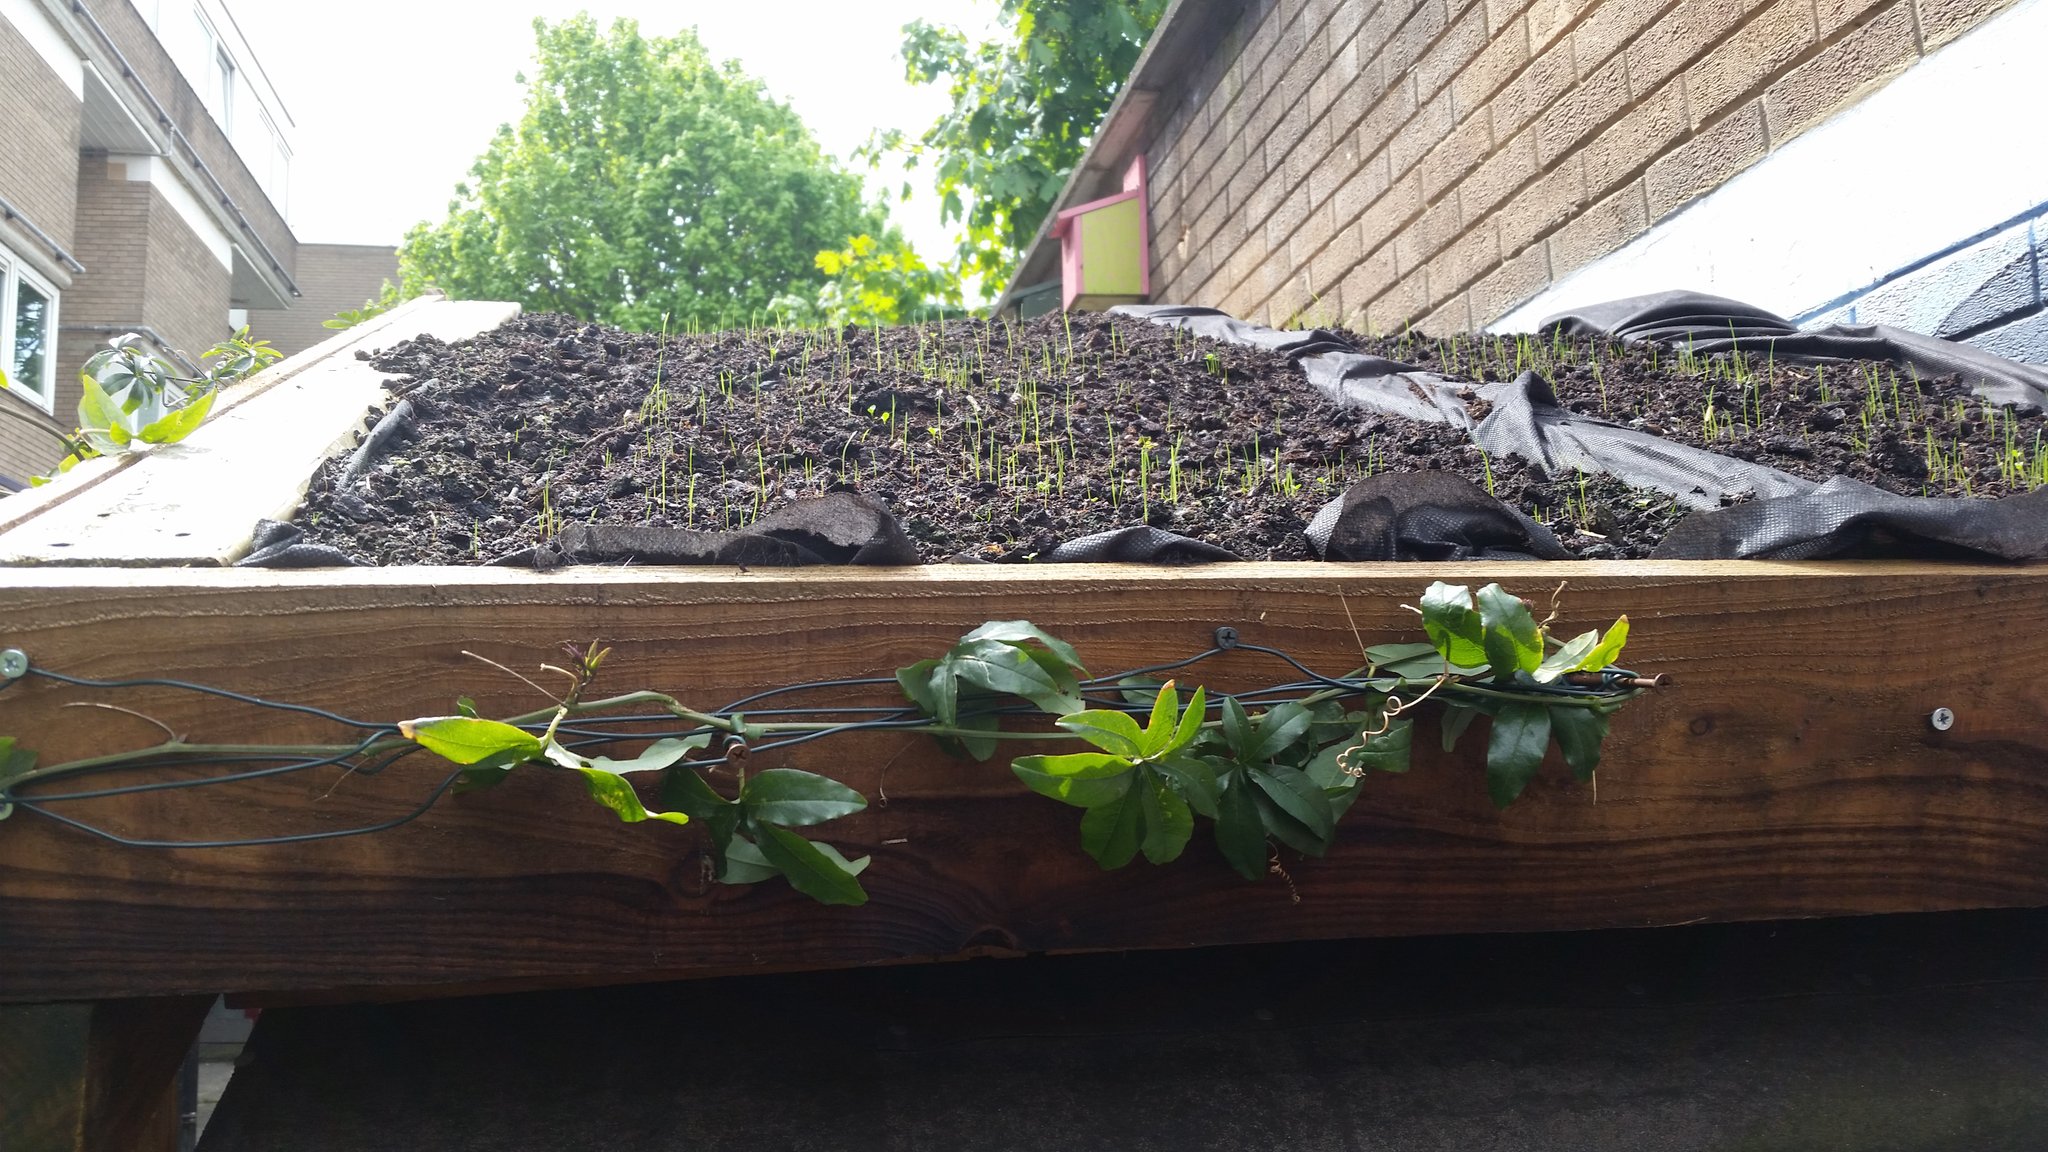
Add substrate
Next it’s time to add a substrate layer. Most DIY roofs will use a light-weight substrate which is low in nutrients, ranging from 70-200mm in depth. Avoid common garden soils, topsoil and peat as they get very heavy when wet and encourage unwanted vegetation which could make your roof too heavy. If you want to mix your own substrate a good ratio is 70-80% inorganic matter (like crushed brick or expanded clay) to 20-30% organic material.
Get planting!
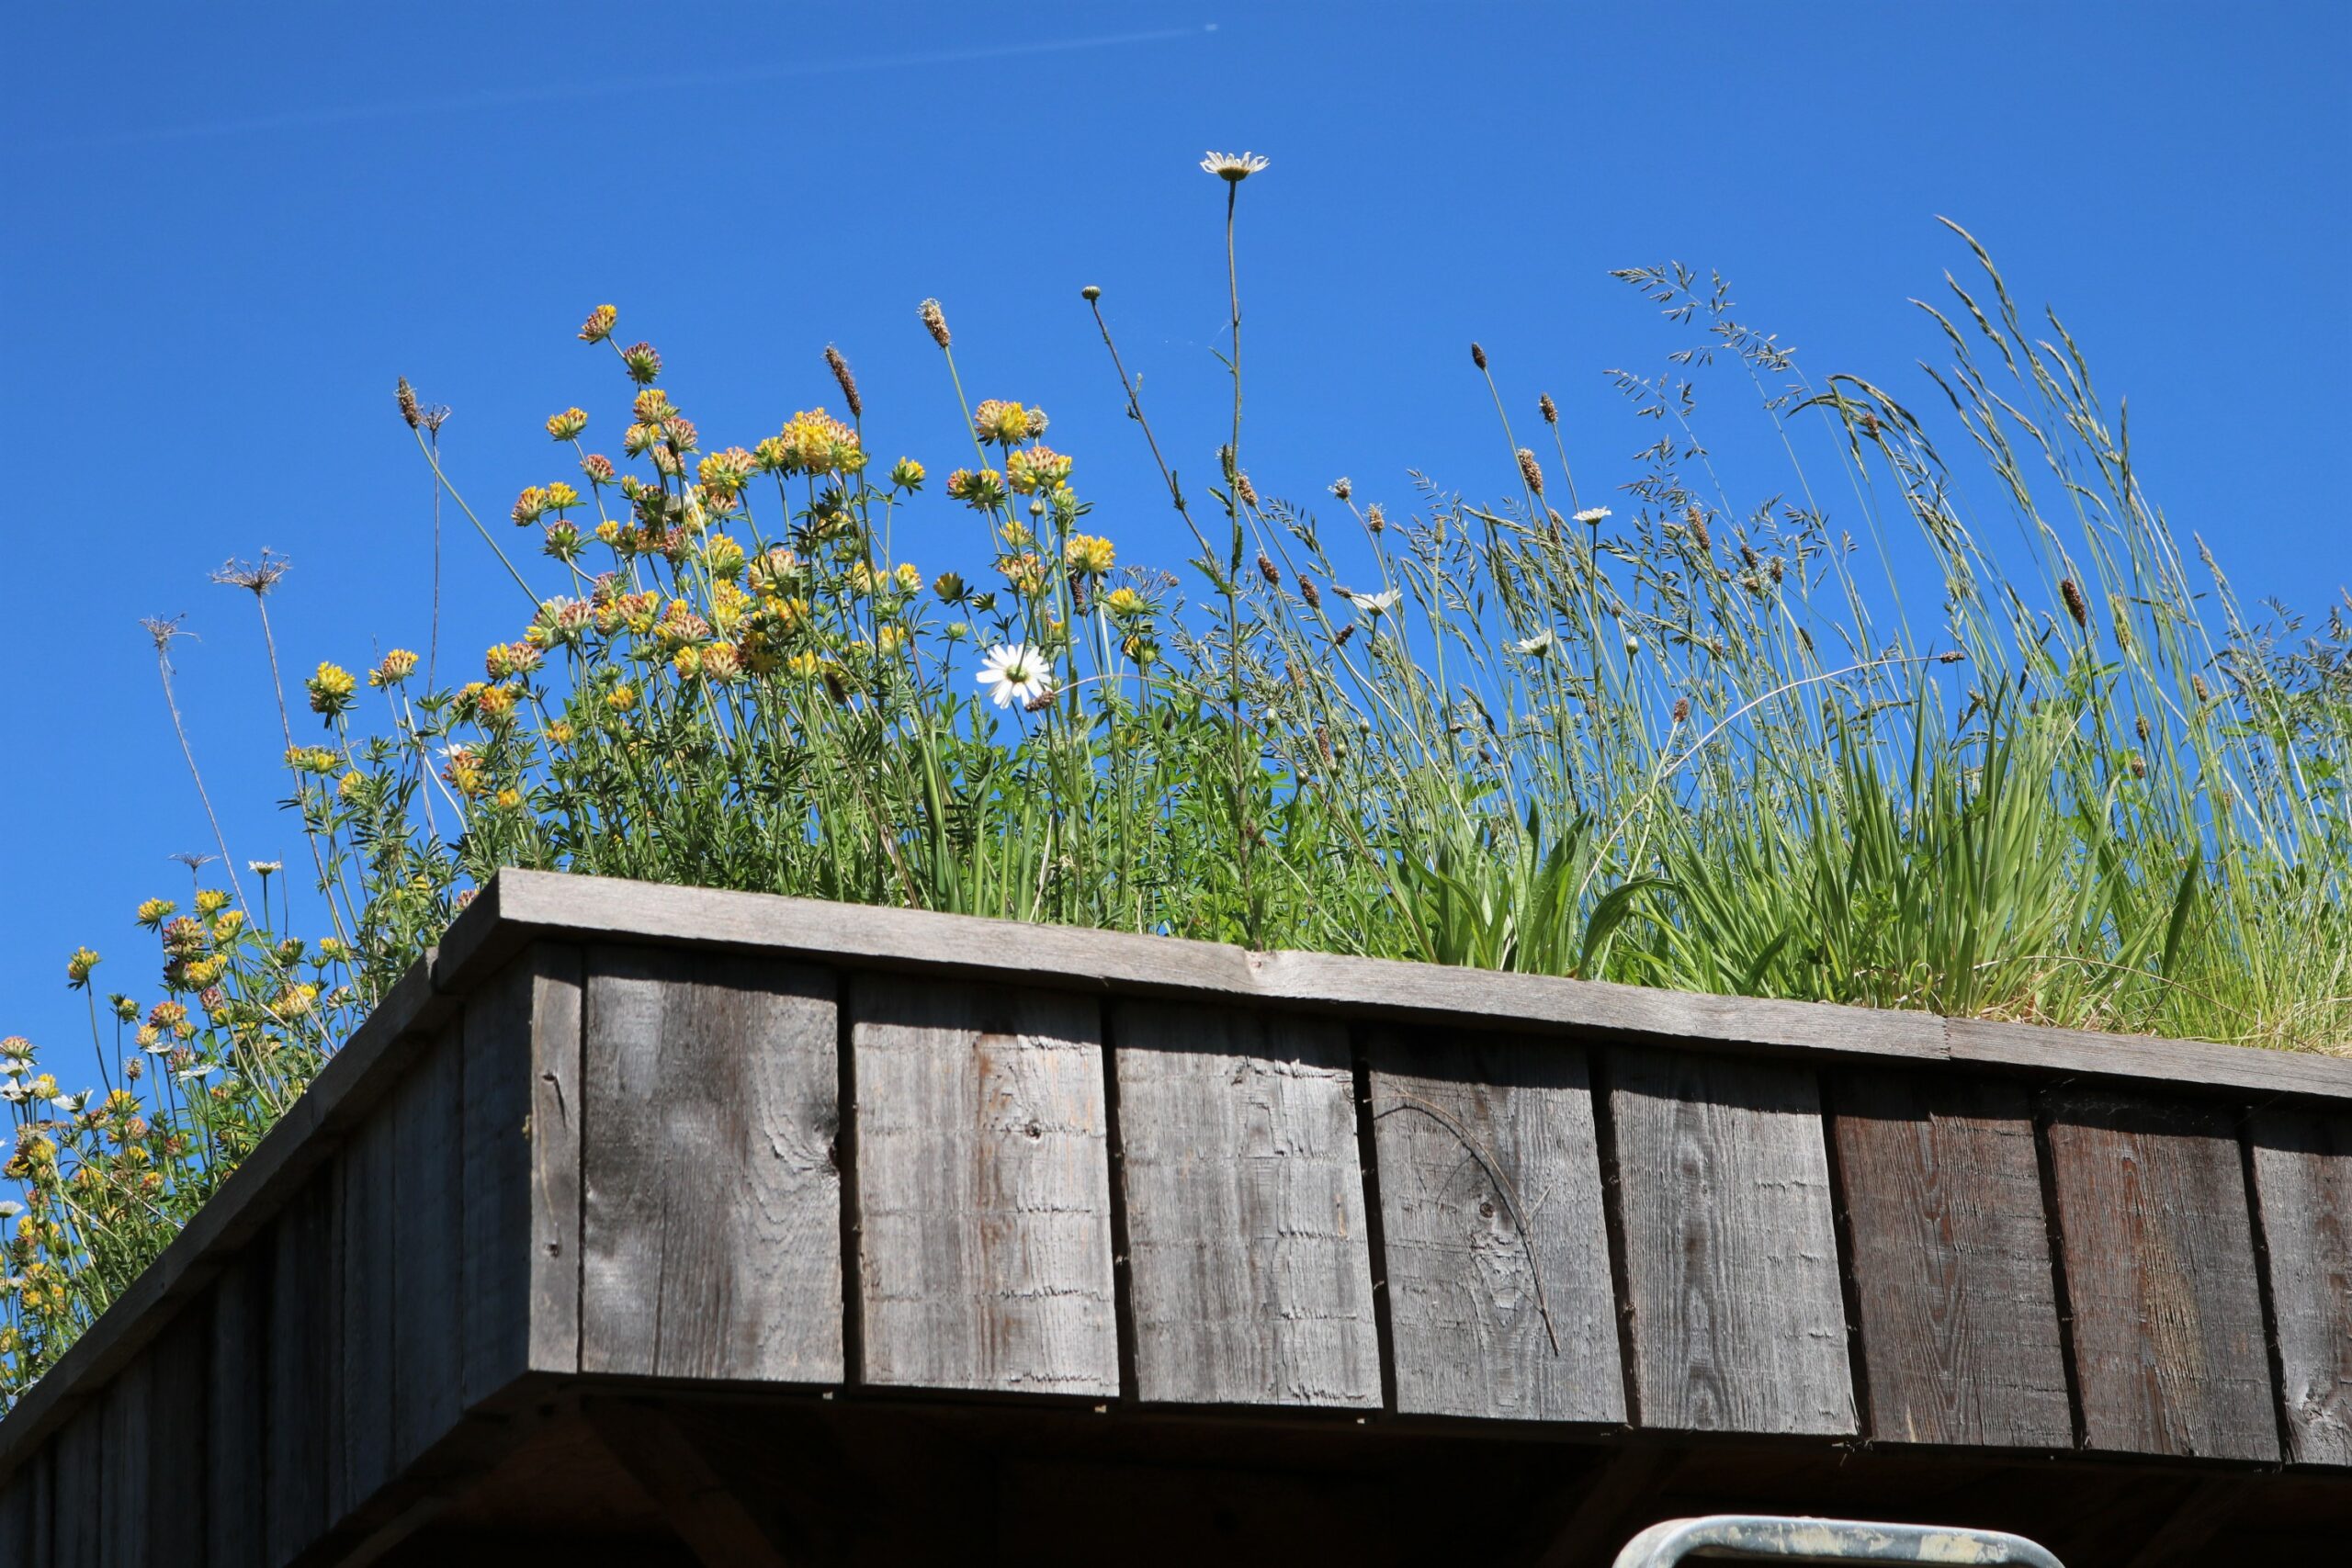
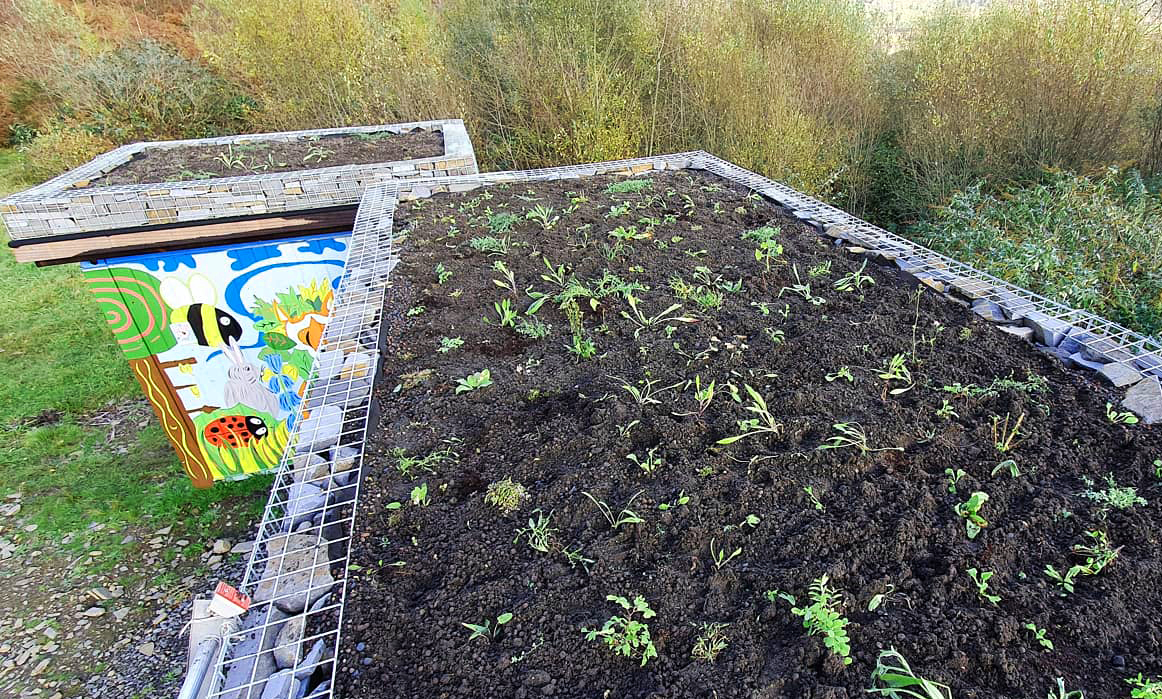
Finally… Let the planting commence! There is a wide variety of plants which you may choose to use, but you’ll find that grasses, mosses and sedum or wildflowers are most commonly used on smaller scale green roofs. You can choose from a green roof seed mixture, plug plants, plant cuttings or even ready-made green roof mats.
Sedum is very popular as the plant can tolerate a variety of weather conditions. They don’t need much maintenance and will keep coverage all year round. Their flowers also attract lots of insect species in the summer months. You can find pre-grown sedum mats ready to install – which provide low growing and instant greenery for any size of roof.
Wildflowers are also great as they can survive in low nutrients and provide diverse food for insects. Some of the best flowers for these conditions include Cows Slip, Lady’s Bedstraw, Harebell, Rockrose, Hawkweeds and Thyme.
It is best to plant up your green roof in Spring or Autumn to reduce the need for watering as your new plants get established.
Taking care of your green roof
In the first year of planting, make sure plants are watered over periods of hot, dry weather. After this period, you will only need to water during severe drought conditions (6 weeks without rain or more). It’s always healthy to check drainage outlets and gravel margins are clear and free from vegetation a couple of times per year, and you can re-plant any bare areas that have appeared with seeds, cuttings or plug plants.
Other things you maybe interested in
Living Pallet Wall Rain Garden Planter Mini Forest
Stay connected
If you’re feeling inspired to now create your very own Green Roof, make sure you let us know on social media! Stay tuned for exciting projects on the horizon.
Facebook Twitter LinkedIn Instagram
If you’d like to speak to a member of our landscape or communities team about implementing something similar in your community, don’t hesitate to get in touch: